How to Create an Application Link in Jira Server for Unito Access
There are a few extra steps you need to take before setting up a Jira workflow with Unito, including your contact email visibility. Here’s everything you need to know!
Before You Start
Section titled “Before You Start”Permissions: Ensure you have administrator access to your Jira instance. Here’s a guide to permissions in Jira.
Launch Unito and connect Jira Server
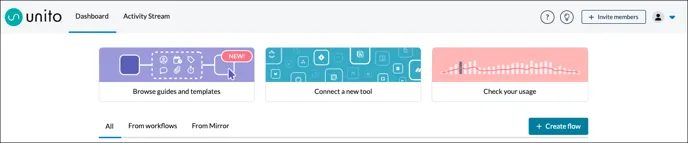
Section titled “Launch Unito and connect Jira Server”- To add Jira from within the app, head to your Unito Dashboard.
- Connect a new tool: Either from the dashboard, while creating a flow, or select your profile, then Integrations.
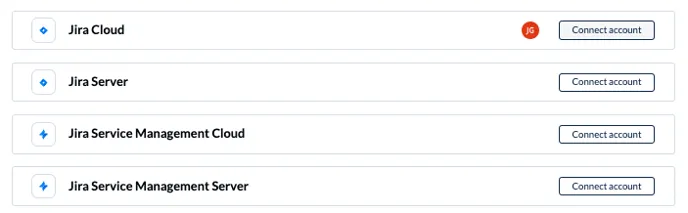
- Scroll down to Jira Server and click Connect Account. \
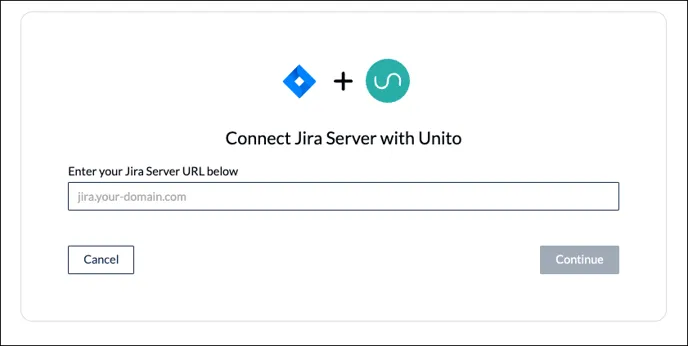
- Enter your Jira Server URL.
- On the next screen, click Allow.

Set up an application link in Jira
Section titled “Set up an application link in Jira”You’ll then be prompted to set up the application link.
-
Login to your Jira Server account with admin credentials.
-
Click the settings icon in the top-right corner of your screen, then Applications, then Application Links on the left-hand menu.\
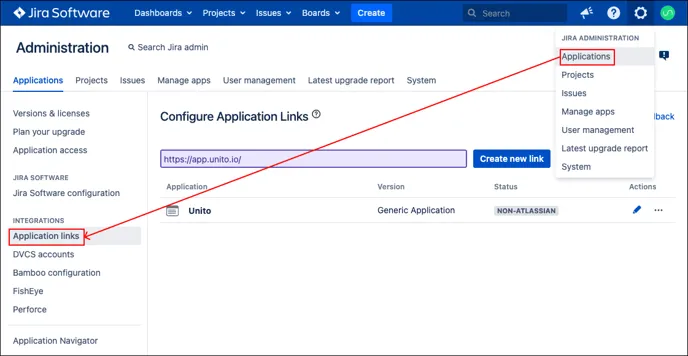
-
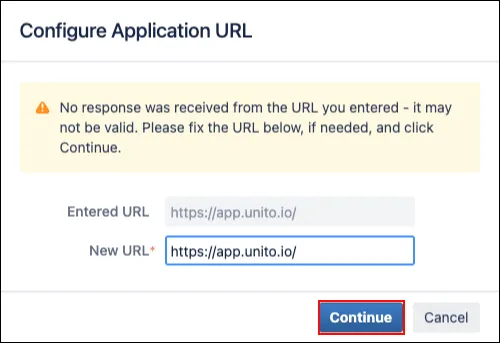
Type in https://app.unito.io/ in the empty field under Configure Application Links and click Create new link.
-
If you see a warning that states: “No response was received from the URL you entered…” simply click Continue.\
-
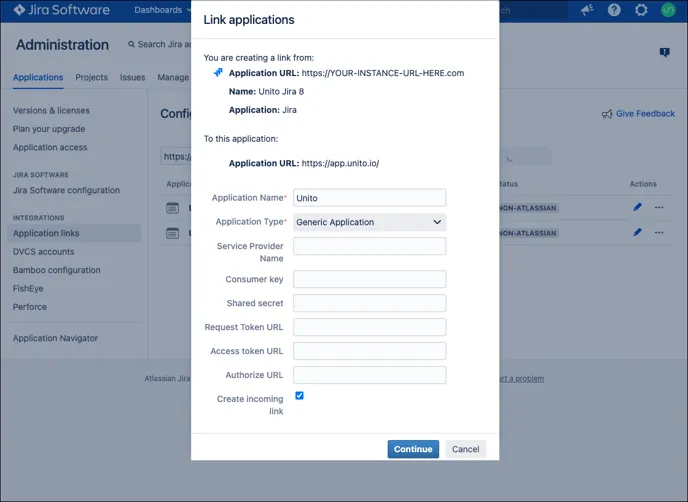
In the “Link Applications” modal window, complete these fields and leave the others blank.
-
Application Name: Unito
-
Application Type: Generic Application
-
Create incoming link: checked
6. Add these fields to the next form:
-
-
- Consumer Key: unito (all lower case)
-
-
Consumer Name: Unito
-
Public Key: copy paste the text below:
\-----BEGIN PUBLIC KEY-----MIGfMA0GCSqGSIb3DQEBAQUAA4GNADCBiQKBgQDKYFuFsWD7ShJeazewedP2jUZtueK30giaA2QSGfhkryQHdwK0YGVGCgJ42muX/Aw53wdpl7g+7Xq8aO/xV7JjO5RGe3VSBzKUak0/PhHYrg2Cvrj3hws833f3cXSlntMnT7Y/PGfQYyOUmzNBIha1IRrQCHeNnq2VbC6N9SL55wIDAQAB\-----END PUBLIC KEY-----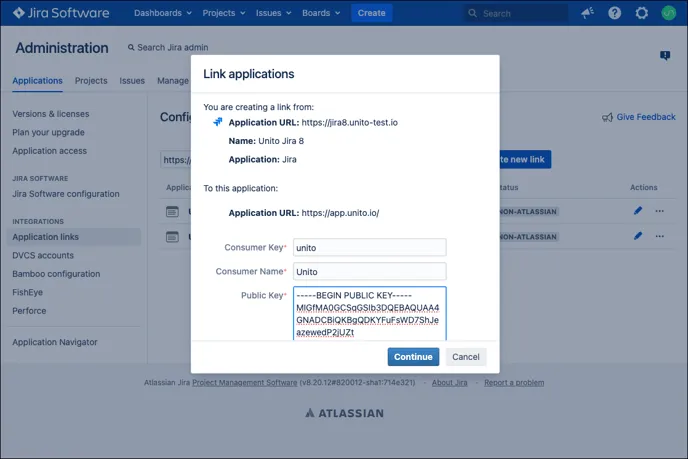
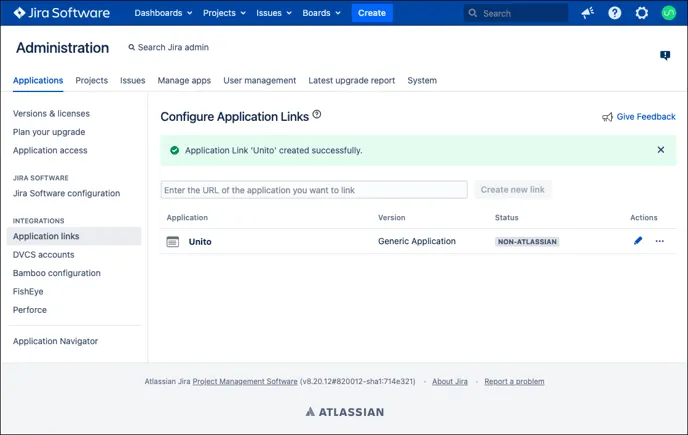
Once you’ve completed these steps, you’ll see this message: Application Link “Unito” created successfully.
Continue as prompted in the Unito app and click Allow: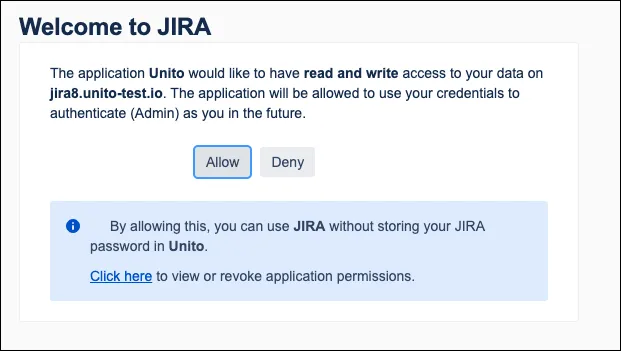
Once these steps are completed, you’ll then see this prompt in Unito:
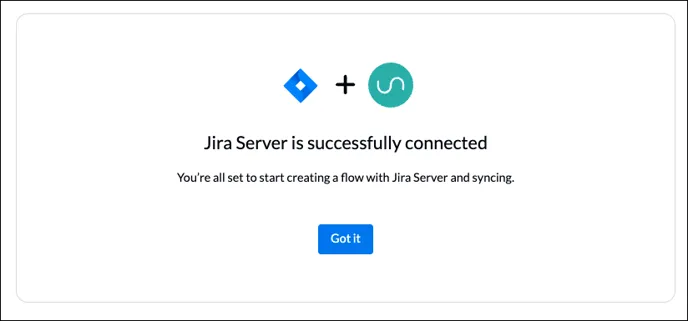
You’re now set up to sync Jira Server with Unito and create your first flow!
Additional configuration steps
Section titled “Additional configuration steps”Unito supports both Jira Data Center and Jira Server for on-premise users. You may need to complete a few extra steps to connect your server or Data Center to Unito. You can also use ngrok to connect Jira Data Center.